What is the Difference Between Sanitary Pads and Sanitary Napkins?

Sanitary pads and sanitary napkins are both physiological care tools commonly used by female friends, but many people can’t distinguish the difference between pads and sanitary napkins. So when will we use pads, when will we use sanitary napkins, and what are their functions? Next we will introduce to you.

1. The principle and appearance of sanitary pads and sanitary napkins

In fact, in essence, the principles of sanitary pads and sanitary napkins are the same, and both have the function of absorbing physiological fluids. However, sanitary panty liners are generally not used to absorb menstrual blood, and they are commonly used in daily life, so they are designed to be compact and convenient for people to use.

However, sanitary napkins are generally used during menstruation and need to absorb a lot of physiological fluids. Therefore, from the design point of view, designers will design sanitary napkins to be larger and thicker than hygienic pads, just like an enlarged version of the sanitary pads.

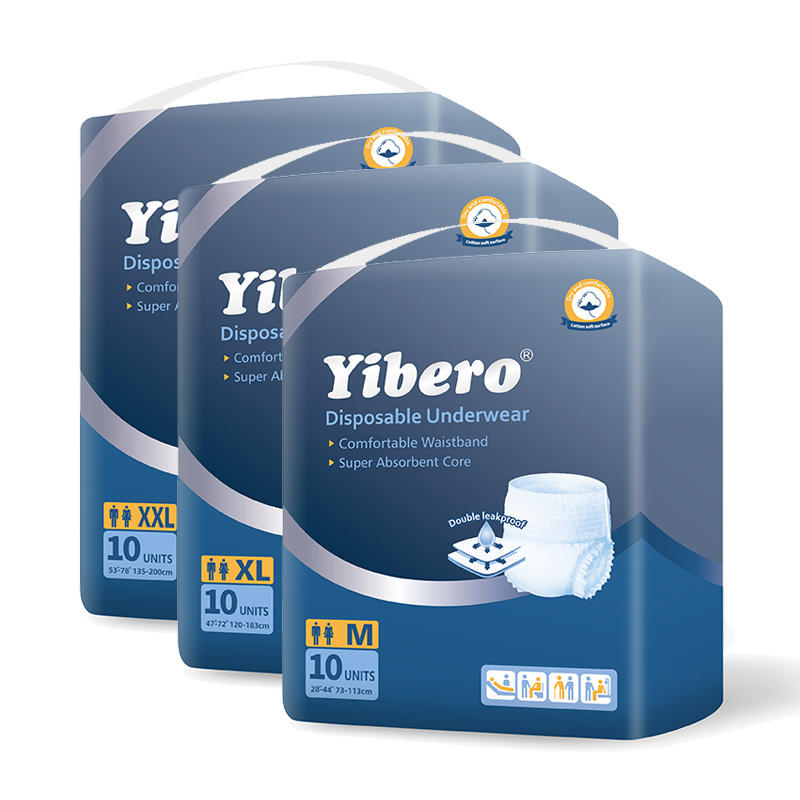
We, as a prfessional company of adult care products, support disposable underpads bulk for the customers, and if you want to buy sanitary pads, please feel free to contact us.

2. The period of use of sanitary napkins and sanitary pads

Generally, we cannot use sanitary pads during menstruation. Because sanitary pads have a relatively small suction volume, menstrual blood can easily leak out and stain our pants.

Therefore, sanitary pads are generally used only when there is more vaginal discharge, and sanitary napkins are divided into daily use and night use. Daily use is generally used during the day, because female friends will have less menstrual blood during the day, and will also change more frequently.

The sanitary napkins used at night are generally relatively large, because the night sleep time is relatively long, and people like to move around when sleeping at night, and the sanitary napkin for night use generally also has the effect of preventing side leakage.
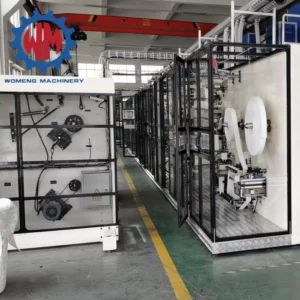
Posted in Main | Tagged | Comments Off on What is the Difference Between Sanitary Pads and Sanitary Napkins?

What color are the reflective studs on a motorway and a slip road?

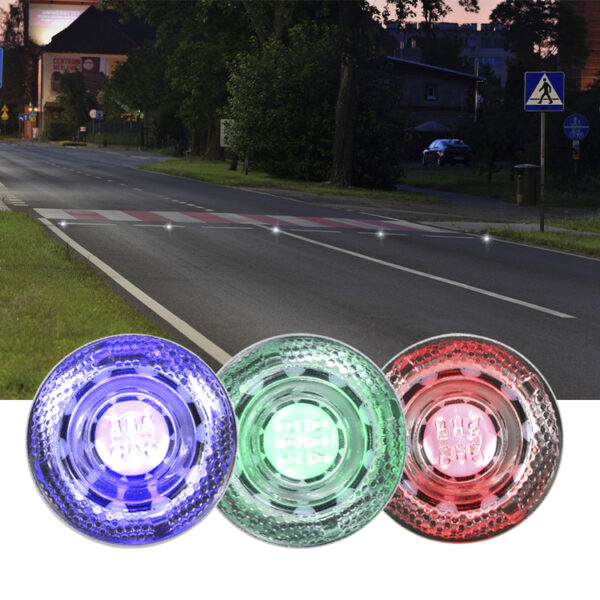
What colour are the reflective studs between a motorway and its slip road? Explanation: The studs between the carriageway and the hard shoulder are normally red. These change to green where there is a slip road. They will help you identify slip roads when visibility is poor or when it is dark.

The colors of reflective studs commonly used on motorways and slip roads are:

  1. White: White reflective studs are used to mark the lanes or the middle of the road on motorways. They indicate the separation between lanes or the centerline of the road, helping drivers maintain their position and navigate safely, especially during low visibility conditions such as darkness or fog.
  2. Red: Red reflective studs are often used to mark the left edge of the road or the boundary between the motorway and the hard shoulder. They serve as a visual guide for drivers, indicating the edge of the carriageway and helping them maintain a safe distance from the roadside.
  3. Green: Green reflective studs may be used on slip roads, junctions, or exits to provide additional guidance and information to drivers. They can indicate the entrance or exit points of slip roads, the separation between motorway lanes and slip roads, or the start of acceleration or deceleration lanes.

These colors are standardized to ensure consistency in road markings and to help drivers quickly and easily interpret the information provided by reflective studs, enhancing safety and efficiency on motorways and slip roads. However, it’s essential to note that the specific color codes for reflective studs may vary slightly between different countries or regions.

Posted in Main | Comments Off on What color are the reflective studs on a motorway and a slip road?

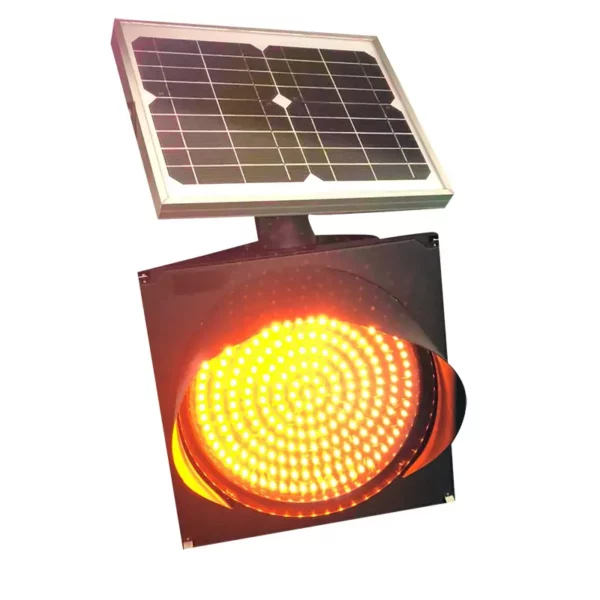
What are the consequences of poor durability in Solar traffic Sign suppliers, and how do your products mitigate these risks?

The consequences of poor durability in Solar Traffic Sign suppliers can have significant implications for road safety, maintenance costs, and overall reliability.

Here are some potential consequences of poor durability and how our products mitigate these risks:

  1. Reduced Visibility: Poor durability can lead to signs fading, discoloration, or becoming obscured over time, reducing their visibility to drivers. This increases the risk of accidents and decreases the effectiveness of traffic signage in conveying important information to road users.Mitigation: Our Solar Traffic Signs are designed with durable materials and high-visibility coatings to maintain their brightness and clarity over time. We use UV-resistant materials to prevent fading and ensure long-lasting visibility, even in harsh outdoor conditions.
  2. Increased Maintenance Costs: Signs that require frequent maintenance or replacement due to poor durability can result in higher maintenance costs for transportation authorities and road maintenance agencies. Solar traffic Sign suppliers This includes expenses associated with labor, materials, and equipment needed to repair or replace damaged signs.Mitigation: Our Solar Traffic Signs are engineered for durability and reliability, reducing the need for frequent maintenance and replacement. By using high-quality materials and robust construction techniques, our signs require minimal maintenance and have a longer lifespan compared to conventional signs.
  3. Safety Risks: Signs that degrade or malfunction due to poor durability can pose safety risks to road users by providing inaccurate or misleading information. This can lead to confusion, errors in judgment, and potential accidents on the road.Mitigation: Our Solar Traffic Signs undergo rigorous testing and certification to ensure they meet industry standards for durability and performance. We incorporate redundant systems and fail-safe mechanisms to minimize the risk of malfunctions and ensure reliable operation under all conditions.
  4. Negative Impact on Brand Reputation: Poor-quality signs reflect poorly on the reputation of transportation authorities, municipalities, and other organizations responsible for road signage. This can erode public trust and confidence in the effectiveness of traffic management measures and infrastructure.Mitigation: Our Solar Traffic Signs are manufactured to the highest quality standards and backed by our reputation for excellence in product quality and reliability. We work closely with our customers to understand their specific needs and provide customized solutions that meet or exceed their expectations.
  5. Environmental Impact: Signs that degrade prematurely contribute to environmental pollution and waste by requiring frequent disposal and replacement. This adds to the carbon footprint associated with manufacturing, transportation, and disposal of signage materials.Mitigation: Our Solar Traffic Signs are designed with sustainability in mind, using eco-friendly materials and energy-efficient technologies to minimize environmental impact. We prioritize durability and longevity to reduce the need for frequent replacement and disposal of signs, Solar traffic Light manufacturers helping to conserve resources and reduce waste.

By addressing these consequences through superior product design, engineering, and quality assurance processes, our Solar Traffic Signs mitigate the risks associated with poor durability and contribute to safer, more sustainable transportation infrastructure.

Posted in Main | Comments Off on What are the consequences of poor durability in Solar traffic Sign suppliers, and how do your products mitigate these risks?

How do your Solar Road Stud manufacturers resist wear and tear from traffic and environmental factors?

Our Solar Road Studs are specifically designed and engineered to resist wear and tear from traffic and environmental factors through a combination of robust construction, durable materials, and innovative features.

Here’s how our Solar Road Studs maintain their durability:

  1. High-Quality Materials: We use premium-grade materials known for their durability and resilience, such as reinforced polycarbonate or aluminum alloy, for the construction of our Solar Road Studs. These materials are chosen for their ability to withstand wear, impact, and environmental stressors.
  2. Impact Resistance: Our Solar Road Studs are designed to withstand the impact and pressure exerted by vehicle traffic without cracking, breaking, or becoming dislodged. They feature reinforced designs and sturdy construction to absorb and dissipate the energy generated by vehicle impacts, ensuring long-term durability.
  3. Weatherproof Construction: Our Solar Road Studs are built to withstand a wide range of weather conditions, including extreme temperatures, humidity, rain, snow, and ice. They are sealed with weatherproof gaskets and coatings to prevent water infiltration and damage, ensuring reliable performance in all weather conditions.
  4. UV Resistance: Our Solar Road Studs are treated with UV-resistant coatings or materials to protect them from the damaging effects of prolonged exposure to sunlight. This helps prevent fading, discoloration, and degradation of the studs’ surfaces, ensuring long-lasting visibility and performance.
  5. Corrosion Resistance: Our Solar Road Studs are resistant to corrosion and degradation caused by moisture, Solar Road Stud manufacturers chemicals, and environmental pollutants. They are constructed using corrosion-resistant materials and coatings to protect them from rust, deterioration, and damage over time.
  6. Durable Solar Panels: The solar panels integrated into our Solar Road Studs are made of high-quality materials and designed to withstand outdoor conditions. They are sealed with protective coatings to prevent water ingress and damage, ensuring reliable performance and longevity.
  7. Sealed Electronics: The electronic components and circuitry inside our Solar Road Studs are sealed and protected from moisture, dust, and debris to prevent damage and ensure reliable operation over time.
  8. Thorough Testing and Certification: Our Solar Road Studs undergo rigorous testing and certification to ensure that they meet industry standards and specifications for durability and performance. This includes tests for impact resistance, weather resistance, UV stability, and long-term reliability.

By incorporating these features and design considerations, our Solar Road Studs are engineered to resist wear and tear from traffic and environmental factors, providing long-lasting visibility and safety benefits on roads, highways, and other transportation infrastructure.

Posted in Main | Comments Off on How do your Solar Road Stud manufacturers resist wear and tear from traffic and environmental factors?

How do parents assess the odor control capabilities of adult nappies?

Parents assess the odor control capabilities of adult nappies by considering several factors:

  1. Manufacturer Claims: Parents often start by reviewing the manufacturer’s claims regarding odor control. Many adult nappy brands advertise specific features designed to minimize or neutralize odors, such as odor-blocking layers, absorbent cores with odor-lock technology, or scented materials.
  2. Material Composition: The materials used in the construction of adult nappies can significantly impact their odor control capabilities. Parents look for nappies made from high-quality, absorbent materials that effectively trap and contain odors, such as super-absorbent polymers (SAP) or activated carbon layers.
  3. Absorbency: The absorbency level of the nappy plays a crucial role in odor control. Parents seek nappies with high absorbency that quickly absorb and retain liquids, minimizing the risk of odors caused by urine or fecal matter. Nappies with rapid absorption technology are often preferred for their ability to lock away moisture and odors effectively.
  4. Leak Protection: Proper leak protection is essential for containing odors and preventing leaks that could lead to unpleasant odors escaping into the surrounding environment. Parents look for adult nappies with leak guards, adult nappies secure leg cuffs, and a snug fit to ensure maximum containment of liquids and odors.
  5. Breathability: Good airflow and breathability can help reduce the buildup of moisture and odors within the nappy. Parents choose nappies with breathable materials and moisture-wicking layers that allow air to circulate freely, minimizing the risk of odor-causing bacteria growth.
  6. pH Balance: Maintaining the skin’s pH balance is crucial for preventing odor-causing bacteria from thriving. Parents prefer adult nappies with pH-balanced materials and skin-friendly ingredients that help keep the skin dry, healthy, and odor-free.
  7. User Reviews: Reading user reviews and feedback from other caregivers can provide valuable insights into the odor control capabilities of different adult nappy brands and styles. Real-world experiences and recommendations from other users can help parents make informed decisions when selecting nappies for their loved ones.

By considering these factors and evaluating the overall performance of adult nappies, parents can assess their odor control capabilities and choose the best option to meet the needs of their loved ones while providing comfort, dignity, and confidence.

Posted in Main | Comments Off on How do parents assess the odor control capabilities of adult nappies?

How do parents ensure that best baby diaper brand provide a secure and snug fit?

Parents can ensure that the best baby diaper brand provides a secure and snug fit by following these guidelines:

  1. Choose the Right Size: Selecting the appropriate diaper size based on the baby’s weight and age is essential for achieving a secure fit. Diaper sizes typically range from newborn to toddler, and each size is designed to accommodate a specific weight range. Referencing the manufacturer’s size chart can help determine the correct size for your baby.
  2. Check for Proper Fit: When putting on the diaper, ensure that it fits snugly around the baby’s waist and legs without being too tight or too loose. The waistband should sit comfortably around the baby’s waist, with enough room to insert two fingers between the diaper and the baby’s skin. The leg cuffs should form a gentle seal around the thighs to prevent leaks.
  3. Adjust Tabs or Fasteners: If the diaper has adhesive tabs or fasteners, make sure they are securely fastened to provide a customized fit for your baby. The tabs should be positioned evenly on the front of the diaper and should not overlap or gap. Adjust the tabs as needed to achieve a snug and secure fit.
  4. Check for Leaks: After securing the diaper, check for any signs of leaks or gaps around the waist and leg openings. Gently tug on the diaper to ensure it is properly positioned and has a tight seal. If leaks occur frequently, try adjusting the fit or consider sizing up to a larger diaper size.
  5. Consider Diaper Type: Different types of diapers, such as tape-style diapers, pull-up diapers, or hybrid diapers, best baby diaper brand may offer varying levels of fit and security. Experimenting with different diaper styles can help you find the option that best meets your baby’s needs and preferences for a secure and comfortable fit.
  6. Monitor Comfort: While ensuring a secure fit is important, it’s equally essential to prioritize your baby’s comfort. Avoid overly tight diapers that may cause discomfort or leave marks on the baby’s skin. Pay attention to your baby’s cues and adjust the fit as needed to ensure a balance between security and comfort.
  7. Choose Trusted Brands: Opting for reputable and trusted baby diaper brands known for their quality and performance can increase the likelihood of achieving a secure and snug fit. These brands often invest in research and development to design diapers that offer a comfortable and secure fit for babies of all ages and sizes.

By following these tips and guidelines, parents can ensure that the best baby diaper brands provide a secure and snug fit, helping to prevent leaks and keep their baby comfortable and dry throughout the day and night.

Posted in Main | Comments Off on How do parents ensure that best baby diaper brand provide a secure and snug fit?

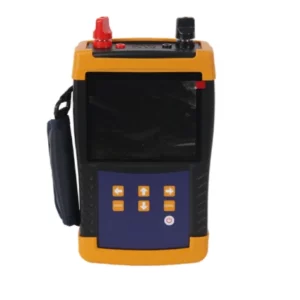
What is the typical testing procedure with an contact resistance tester?

The testing procedure with a contact resistance tester typically involves several steps to ensure accurate and reliable measurements. Here’s a typical testing procedure:

  1. Preparation: Before starting the test, ensure that the equipment is powered off, de-energized, and safely isolated to prevent any risk of electrical shock or injury. Inspect the test leads, probes, and connections for any signs of damage or wear.
  2. Connection Setup: Connect the contact resistance tester to the circuit or device under test (DUT) according to the manufacturer’s instructions. Ensure that the test leads are securely connected to the appropriate terminals on the DUT, and that all connections are tight and free from corrosion or contamination.
  3. Zero Adjustment: If required by the tester’s specifications, perform a zero adjustment to compensate for any inherent resistance in the test leads or connections. Follow the manufacturer’s instructions for zeroing the tester and ensure that it is properly calibrated before proceeding with the test.
  4. Test Procedure: Follow the specific test procedure recommended by the manufacturer for the type of contact resistance measurement being performed. This may include selecting the appropriate test method (such as four-wire or Kelvin method), setting the test parameters (such as test current or voltage), contact resistance tester and initiating the test sequence.
  5. Measurement: Activate the contact resistance tester to apply the test current or voltage to the DUT. Monitor the tester’s display or readout to observe the measurement results in real-time. Allow sufficient time for the measurement to stabilize and settle before recording the final reading.
  6. Data Recording: Record the measured contact resistance value along with relevant information such as the date, time, location, and identification of the DUT. Document any test conditions or observations that may affect the accuracy or interpretation of the results.
  7. Analysis and Interpretation: Analyze the test results to assess the condition of the contacts or connections being tested. Compare the measured resistance values to acceptable limits or specifications provided by the manufacturer or industry standards. Interpret the results in the context of the specific application and operational requirements.
  8. Reporting: Prepare a test report summarizing the testing procedure, measurement results, analysis, and any recommendations or corrective actions. Include relevant documentation, such as test logs, calibration certificates, and equipment specifications, to provide a comprehensive record of the testing process.
  9. Follow-Up Actions: Based on the test results and analysis, take appropriate follow-up actions such as maintenance, repair, or further investigation as necessary. Address any identified issues or anomalies promptly to ensure the continued safe and reliable operation of the equipment.
  10. Safety Precautions: After completing the test, disconnect the contact resistance tester from the DUT and ensure that all equipment is properly de-energized, isolated, and secured. Follow established safety procedures for handling and storing the tester to prevent damage or injury.

By following these steps and adhering to best practices for contact resistance testing, you can ensure accurate, reliable, and meaningful measurements to assess the condition of electrical contacts and connections in various applications.

Posted in Main | Comments Off on What is the typical testing procedure with an contact resistance tester?

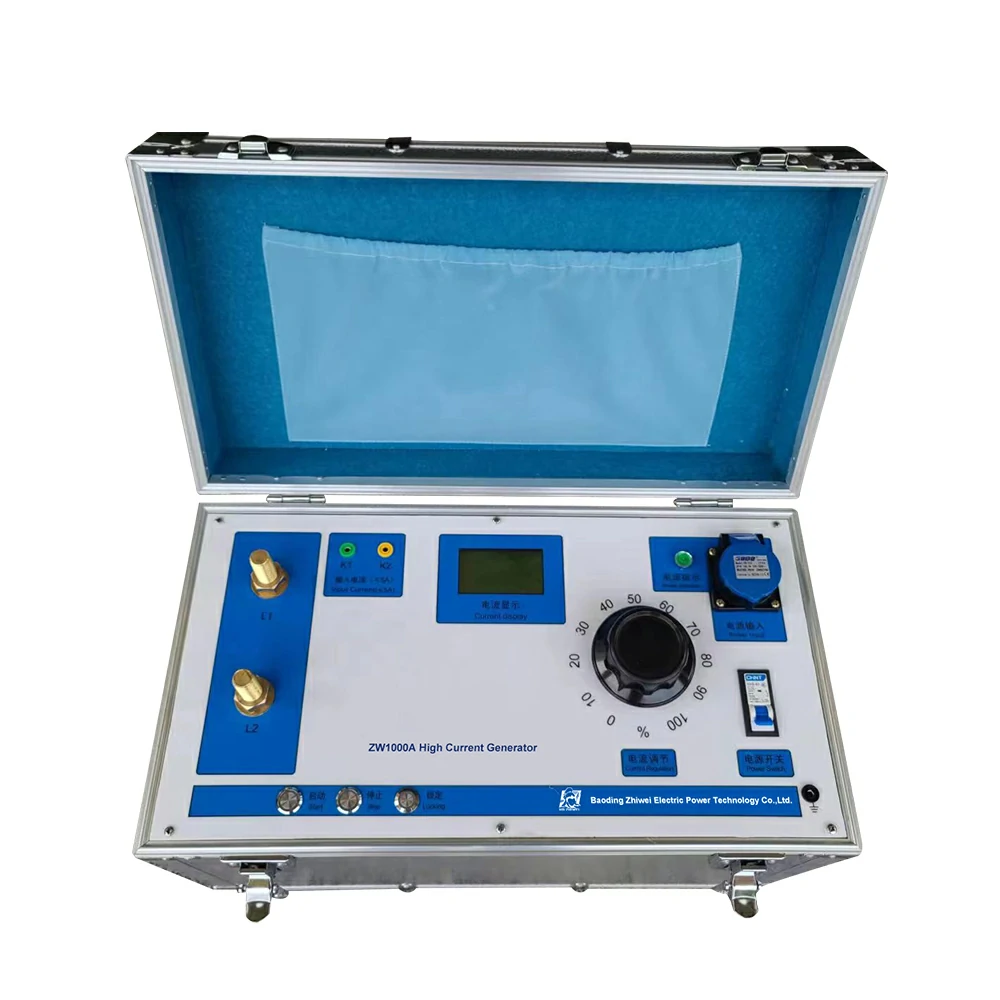
How long does it take to perform a primary current injection test set ?

The duration of a primary current injection test set depends on several factors, including the specific test being performed, the size and complexity of the electrical system under test, and the testing procedures followed. Generally, primary current injection tests can take anywhere from a few minutes to several hours to complete.

Here are some factors that can influence the duration of the test:

  1. Test Object: The size and complexity of the electrical system being tested, such as the size of the circuit breaker or the length of the cable, can affect the duration of the test. Larger or more complex systems may require more time to perform the test due to the additional setup and measurement requirements.
  2. Test Procedure: The specific test procedure being conducted, including the number of test points, the test current magnitude, and the duration of the test, can impact the overall testing time. Some tests may require multiple measurements or repeated tests to ensure accuracy and reliability.
  3. Preparation Time: Preparing the test equipment, including setting up the primary current injection test set, connecting test leads, and configuring the test parameters, can take additional time before the actual test begins.
  4. Safety Considerations: Ensuring the safety of personnel and equipment during the test, including implementing proper safety precautions, primary current injection test set verifying grounding and insulation integrity, and adhering to safety protocols, may add to the overall testing time.
  5. Data Collection and Analysis: After performing the test, there may be additional time required for data collection, recording test results, and analyzing the data to ensure compliance with standards and specifications.
  6. Documentation and Reporting: Documenting the test procedure, recording test results, and generating test reports may also require additional time after completing the test.

In summary, the duration of a primary current injection test set can vary depending on factors such as the size and complexity of the electrical system, the specific test procedure, safety considerations, and post-test activities. While some tests may be relatively quick and straightforward, others may require more time and effort to ensure accurate and reliable results.

Posted in Main | Comments Off on How long does it take to perform a primary current injection test set ?

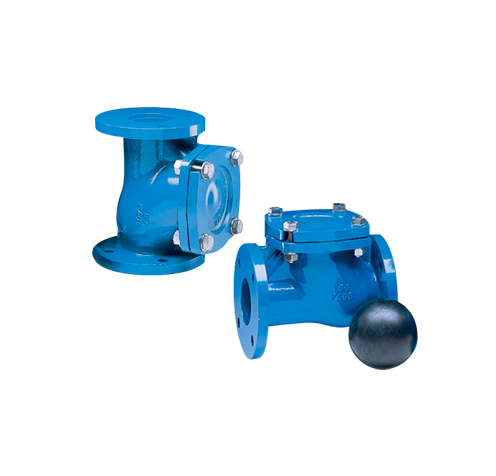
How are dual disc check valve protected from contamination and environmental factors in harsh operating conditions?

Dual disc check valves are commonly used in various industrial applications where protection from contamination and environmental factors in harsh operating conditions is crucial.

Here are some ways these valves are protected:

  1. Robust Construction: Dual disc check valves are typically constructed from durable and corrosion-resistant materials such as stainless steel, ductile iron, or high-performance alloys. This robust construction helps protect the valve from the effects of harsh operating conditions, including exposure to corrosive fluids, high temperatures, and abrasive particles.
  2. Sealing Mechanism: Dual disc check valves feature a sealing mechanism between the discs and the valve body, which helps prevent contamination from entering the valve when it is closed. High-quality sealing materials such as resilient elastomers or metal-to-metal seals provide effective sealing even in challenging environments.
  3. Spring-loaded Discs: Many dual disc check valves are equipped with spring-loaded discs that ensure positive closure and tight sealing when the flow stops. This feature helps prevent backflow and contamination of the upstream system, even in the presence of fluctuating pressures or flow rates.
  4. Enclosed Design: Some dual disc check valves feature an enclosed or encapsulated design that provides additional protection against contamination and environmental factors. This design prevents debris, dirt, or other external contaminants from entering the valve internals, ensuring reliable operation and extended service life.
  5. External Coatings: Protective coatings or linings applied to the external surfaces of dual disc check valves can provide an additional layer of defense against environmental factors such as corrosion, abrasion, and chemical exposure. dual disc check valve These coatings help extend the lifespan of the valve and maintain its performance in harsh operating conditions.
  6. Environmental Seals: Dual disc check valves may incorporate environmental seals or gaskets around the valve body or between the discs to further enhance sealing and prevent contamination ingress. These seals are designed to withstand a wide range of temperatures, pressures, and chemical exposures commonly encountered in industrial applications.
  7. Maintenance and Inspection: Regular maintenance and inspection practices help identify and address potential sources of contamination or damage to dual disc check valves. Periodic cleaning, lubrication, and replacement of worn components can help maintain optimal valve performance and prolong service life in harsh operating environments.
  8. Compliance with Standards: Dual disc check valves designed for harsh operating conditions often comply with industry standards and specifications for performance, reliability, and environmental protection. Ensuring that valves meet or exceed these standards can provide assurance of their ability to withstand challenging operating conditions and protect against contamination.

By incorporating these protective features and practices, dual disc check valves can effectively withstand contamination and environmental factors in harsh operating conditions, ensuring reliable performance and maintaining system integrity in industrial applications. Regular monitoring, maintenance, and compliance with industry standards further contribute to the long-term reliability and durability of these valves in challenging environments.

Posted in Main | Comments Off on How are dual disc check valve protected from contamination and environmental factors in harsh operating conditions?

What are the main challenges associated with selecting and integrating extension stem butterfly valve into complex pneumatic systems?

Selecting and integrating extension stem butterfly valves into complex pneumatic systems can present several challenges that need to be carefully addressed to ensure optimal performance and system functionality.

Some of the main challenges include:

  1. Compatibility: Ensuring compatibility between the extension stem butterfly valve and other components within the pneumatic system, such as actuators, controllers, piping, and fittings, can be challenging. The valve must be selected to match the specifications, dimensions, and connection requirements of the existing system components to facilitate seamless integration.
  2. Space Constraints: In complex pneumatic systems, space constraints may limit the available installation locations for extension stem butterfly valves. Finding suitable locations that allow for proper valve operation, accessibility, and maintenance can be challenging, especially in crowded or confined spaces.
  3. Piping Layout: The layout of the pneumatic piping network may pose challenges when integrating extension stem butterfly valves into the system. Ensuring proper alignment, orientation, and connection of the valves within the piping layout is crucial to maintain smooth airflow, minimize pressure drops, and prevent flow restrictions.
  4. Operating Conditions: Complex pneumatic systems may operate under a wide range of operating conditions, including varying pressures, temperatures, flow rates, and environmental factors. Selecting extension stem butterfly valves that can withstand these conditions and maintain reliable performance over time is essential to ensure system integrity and functionality.
  5. Control Strategy: Integrating extension stem butterfly valves into complex pneumatic systems requires careful consideration of the overall control strategy and sequence of operations. Coordinating the valve actuation, timing, and sequencing with other system components, such as sensors, actuators, extension stem butterfly valve and controllers, is critical to achieve the desired system behavior and performance.
  6. Maintenance and Accessibility: Accessing extension stem butterfly valves for maintenance, inspection, or repair can be challenging, especially in complex pneumatic systems with multiple interconnected components. Ensuring that valves are installed in accessible locations and that proper provisions are made for maintenance access is essential to minimize downtime and facilitate servicing.
  7. Safety Considerations: Safety is paramount when integrating extension stem butterfly valves into complex pneumatic systems. Ensuring that valves are installed and operated in accordance with relevant safety standards and guidelines is essential to mitigate risks associated with pressure hazards, fluid leaks, and equipment failures.
  8. System Performance: The integration of extension stem butterfly valves should not compromise the overall performance of the pneumatic system. Ensuring that valves are properly sized, selected, and installed to meet the flow requirements, pressure ratings, and performance specifications of the system is crucial to maintain optimal system functionality and efficiency.

By carefully addressing these challenges and considering the specific requirements of the pneumatic system, operators can successfully select and integrate extension stem butterfly valves into complex pneumatic systems, ensuring reliable operation, optimal performance, and system integrity. Collaboration with experienced engineers, suppliers, and system integrators can also help overcome challenges and achieve successful valve integration.

Posted in Main | Comments Off on What are the main challenges associated with selecting and integrating extension stem butterfly valve into complex pneumatic systems?